Eye Brightening Ritual
(6 Minute Video)
It’s recommended to view the video on full screen (horizontal) and then follow along at home.
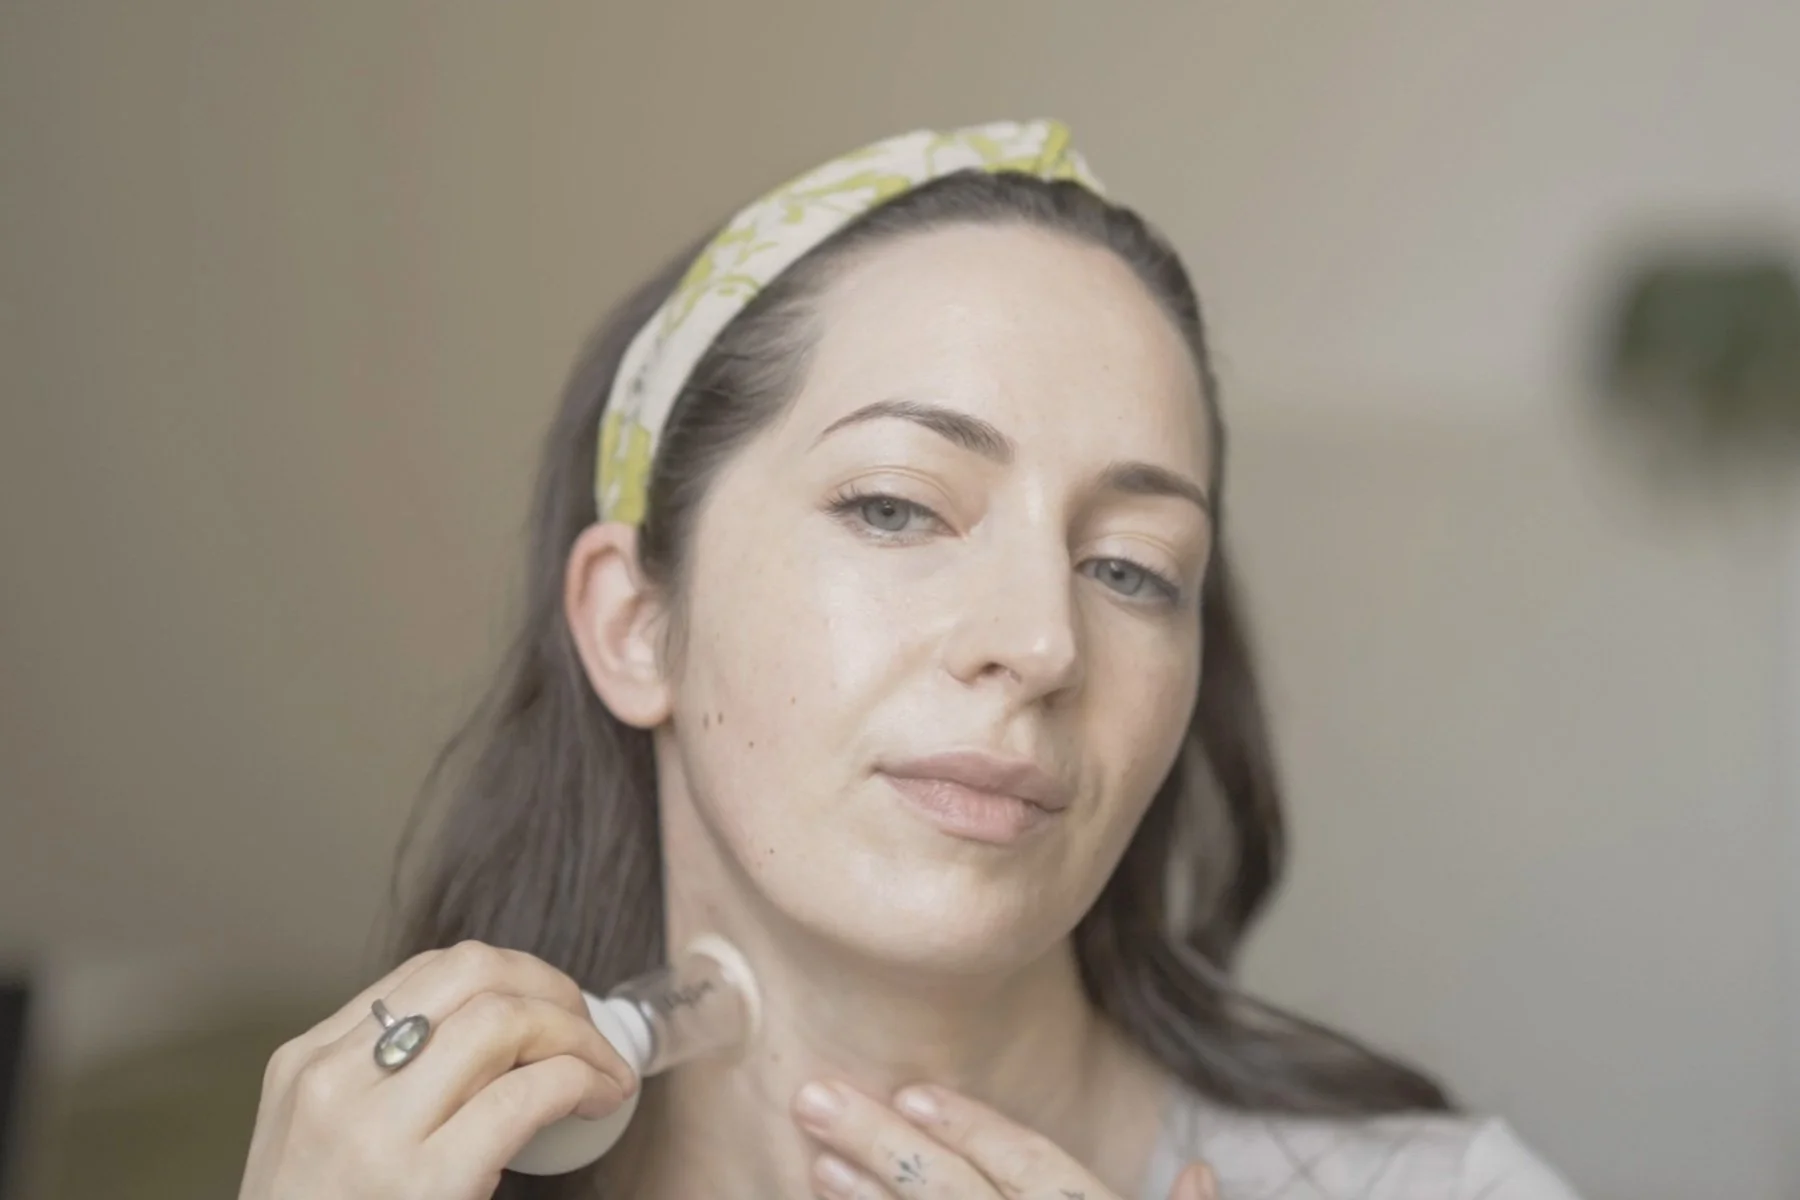
As usual we begin at the back of the neck. Wrap the U-edge of the tool across the spine and apply long strokes up to the base of the skull. Then come up the back of the neck right next to the spine, releasing tension in the muscle with firm upwards strokes. Use the long edge of the tool to sweep up the trapezius muscle, up to the back of the ear. Then use the U-edge of the tool to stretch up the sternocleidomastoid from the collarbone to the ear - easing up on the pressure here.
Then, anchor at the collarbone and sweep up the platysma muscle - ending the stroke at the corner of the mouth. Use your supporting hand to add resistance and give this muscle a gentle stretch.
Using the round tip of the tool, we drain under the eyes in three stages. First from the outer corner, and then from under the pupil - sweeping outwards - and then from the inner corner of the eye, repeating each stroke three times and anchoring the skin with our supporting hand.
We then use a light pumping motion, working from the inner corner of the eye out towards the temple. We rock the tool back and forth in a pumping motion to create movement in the tissue which helps to drain fluid.
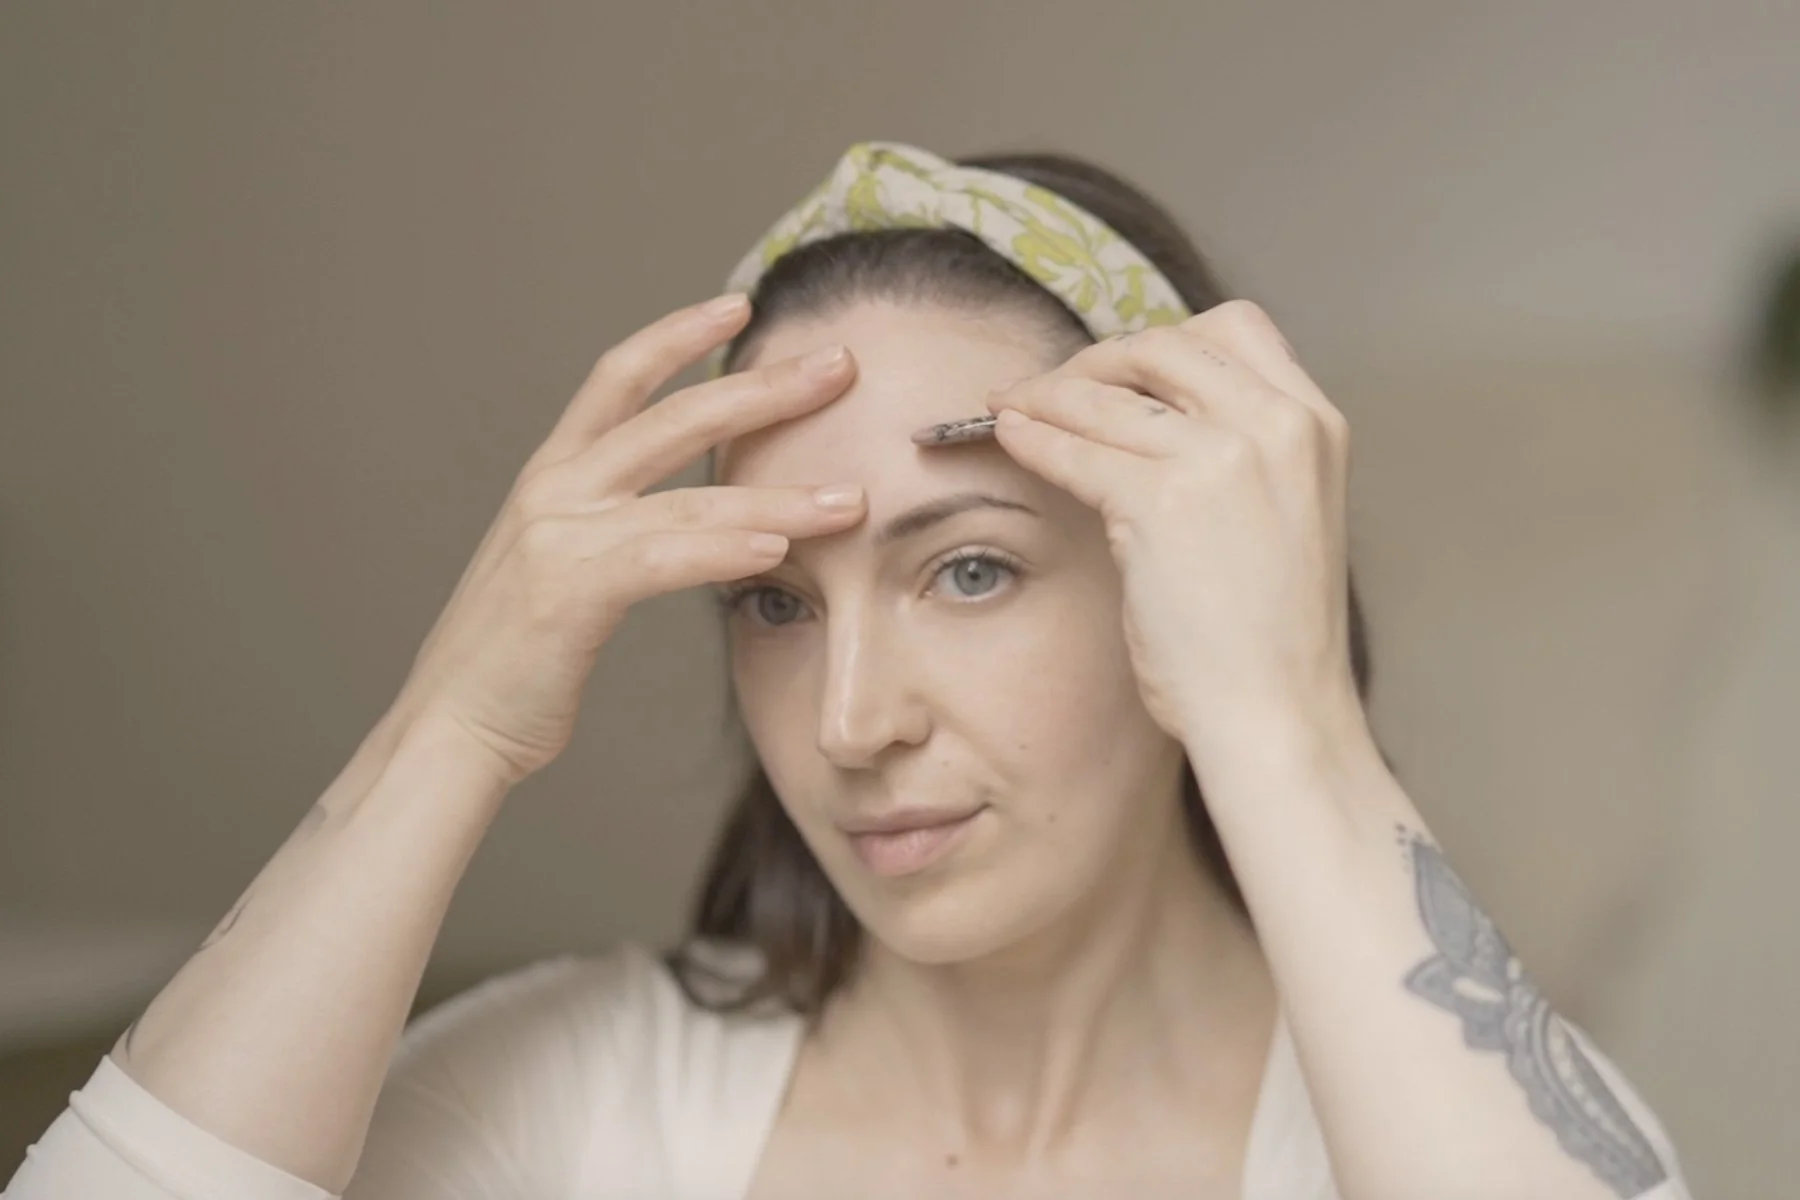
Then using the comb edge of the tool, we anchor the skin with our supporting hand and use the tool like a pencil eraser - applying light friction over any lines or wrinkles. And we can then use upwards strokes to stretch and smooth out the area.
Then use the round end of the tool to sweep out under the browbone to help drain the eyelid, ending with a wiggle at the temple. We then lift the round edge of the tool directly under the eyebrow and sweep outwards.
We can then use the small tip of the tool to work along pressure points to release tension, and then draw light circles around the eye socket. You can see how lifting this is. We then sweep out under the eye towards the temple, and then drain down to the collarbone.
Repeat on the other side. Coming up the back of the neck with firm pressure and working into the base of the skull to release tension. Then working in long strokes up the trapezius muscle, up to the back of the ear. We then use the U-edge of the tool to give the sternocleidomastoid a nice stretch from the collarbone to the ear.
Again, anchoring at the collarbone, use long strokes up to the corner of the mouth to stretch out the platysma muscle. This muscle can become short and tight as we age, dragging the face down.
We then sweep out under the eyes to drain in three stages - first from the outer corner, then from under the pupil, and then from the inner corner of the eye. Always supporting the skin with your other hand. Then use the round flat side of the tool to apply a rocking or pumping motion under the eye area, working out towards the temple. This helps to drain fluid out towards the lymph centres.
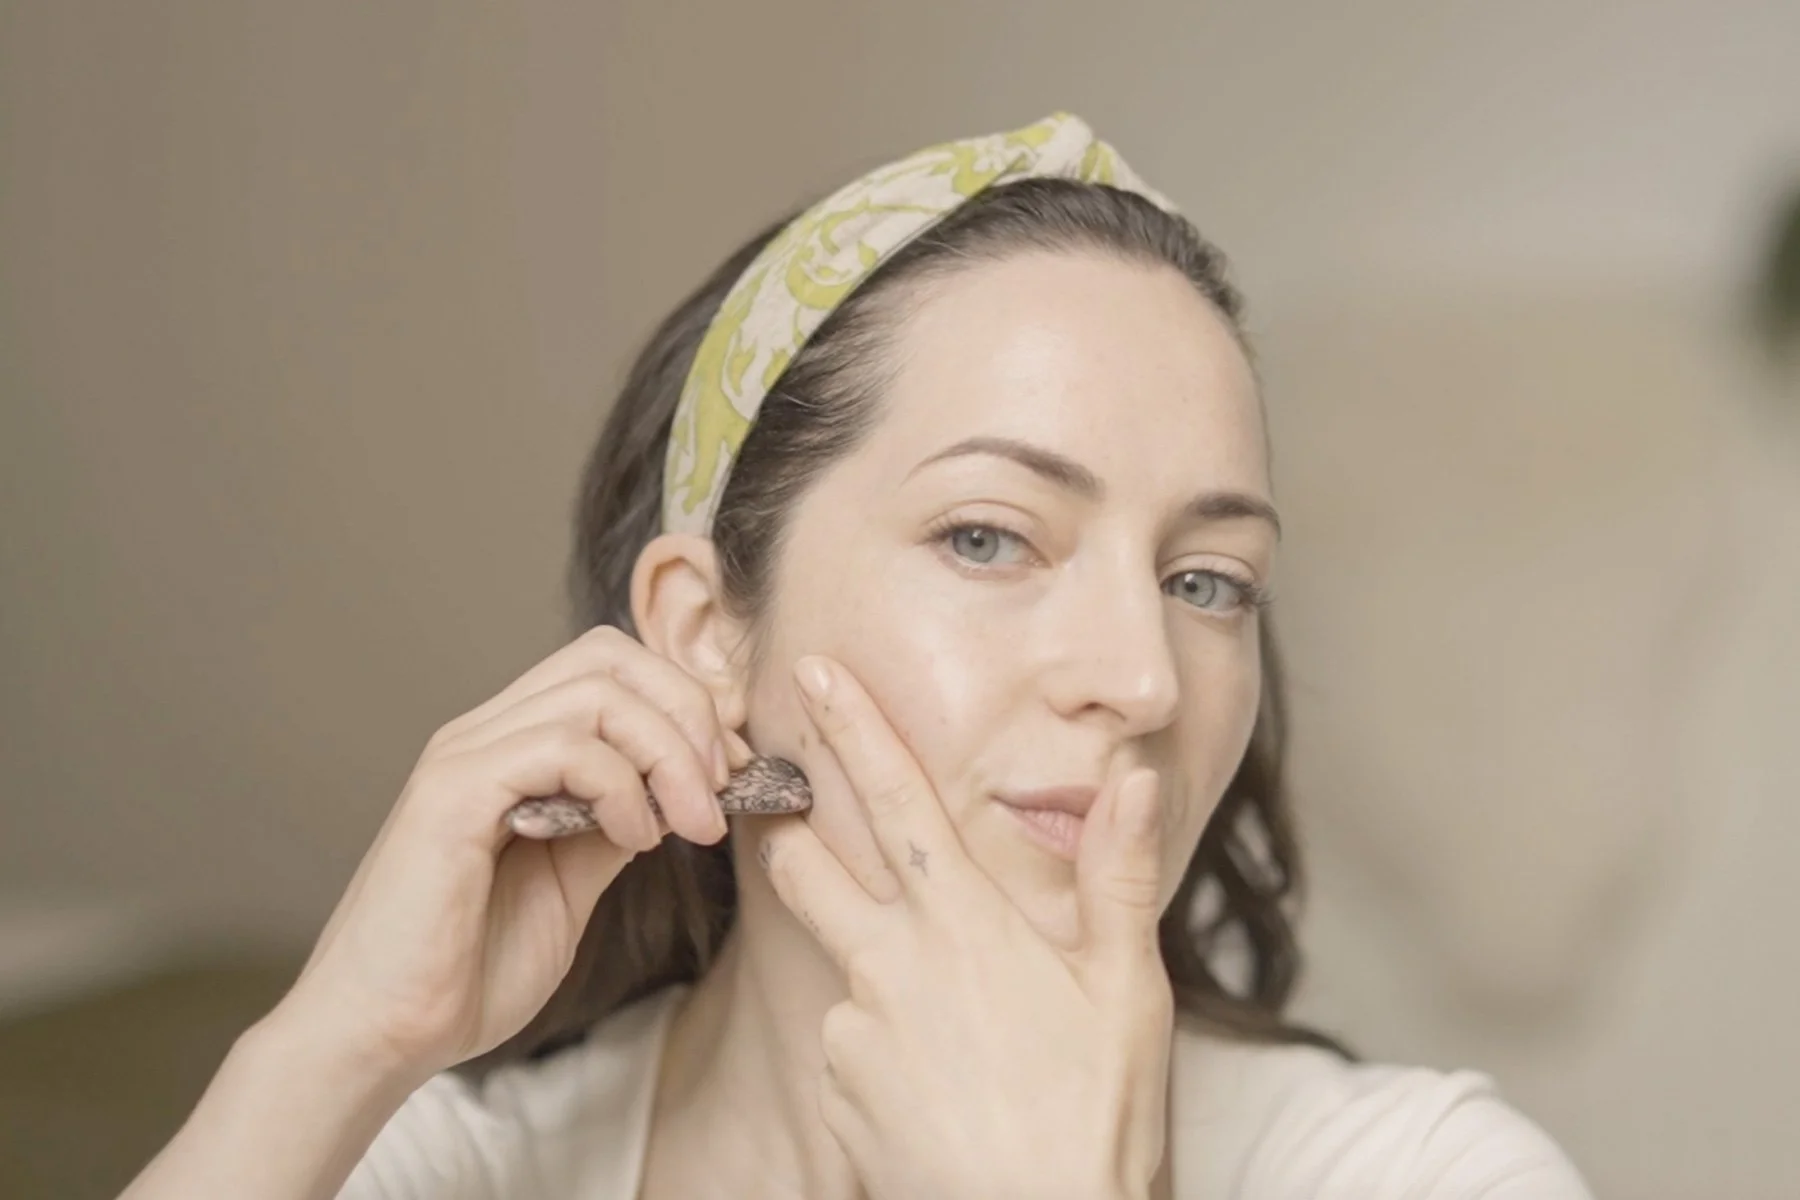
We then stretch out the skin at the temple and use the comb edge of the tool to work on lines and wrinkles with light friction motions, before combing the tissue out in upward strokes. Then drain the eyelid with sweeping movements under the brow.
Using the edge of the tool sweep outwards, ending with a wiggle at the temple. And we can then activate pressure points with the tip of the tool around the eye socket. This helps to release tension and brighten the eyes. And we can then draw light circles around the eye.
Finally we sweep out under the eye to further drain fluid, and then drain everything down to the collarbone.