Daily Gua Sha Ritual
(8 Minute Video)
It’s recommended to view the video on full screen (horizontal) and then follow along at home.
.
Warm some facial oil between your hands and pat or massage all over your face and neck. We then begin at the back of the neck. Wrap the U-edge of your gua sha tool around the spine and apply long strokes upwards, ending with a wiggle at the hairline. We then come up the back of the neck right next to the spine, applying firm upward strokes, and ending with a wiggle to further release tension.
.
Using the long edge of the tool, we sweep up the trapezius muscle, all the way to the back of the ear. Pressure is medium to firm. Then on the front side of the neck, we sweep up the sternocleidomastoid up from the collarbone to the ear, easing up on the pressure here.
.
Then, anchor with your supporting hand at the collarbone and use the long edge of the tool to sweep up the platysma muscle, ending the stroke at the corner of the mouth. Keep using your supporting hand as you move the tool in upward strokes - giving this muscle a nice stretch.
.
We then repeat on the other side of the neck. Really take your time to breathe and move as slow as you like, using the bumpy edge of the tool to work into the muscle and release tension. Gua sha helps to increase the flow of blood, Qi and fluids, opening the pathways that feed the skin and returning vitality to the cells. It’s important to work the neck before we begin gua sha on the face itself to make sure there are no blockages which will impede results.
.
Again working up the sternocleidomastoid with medium pressure in upward strokes. And then anchoring at the clavicle and giving the platysma muscle a nice stretch, ending under the cheekbone at the corner of the mouth.
.
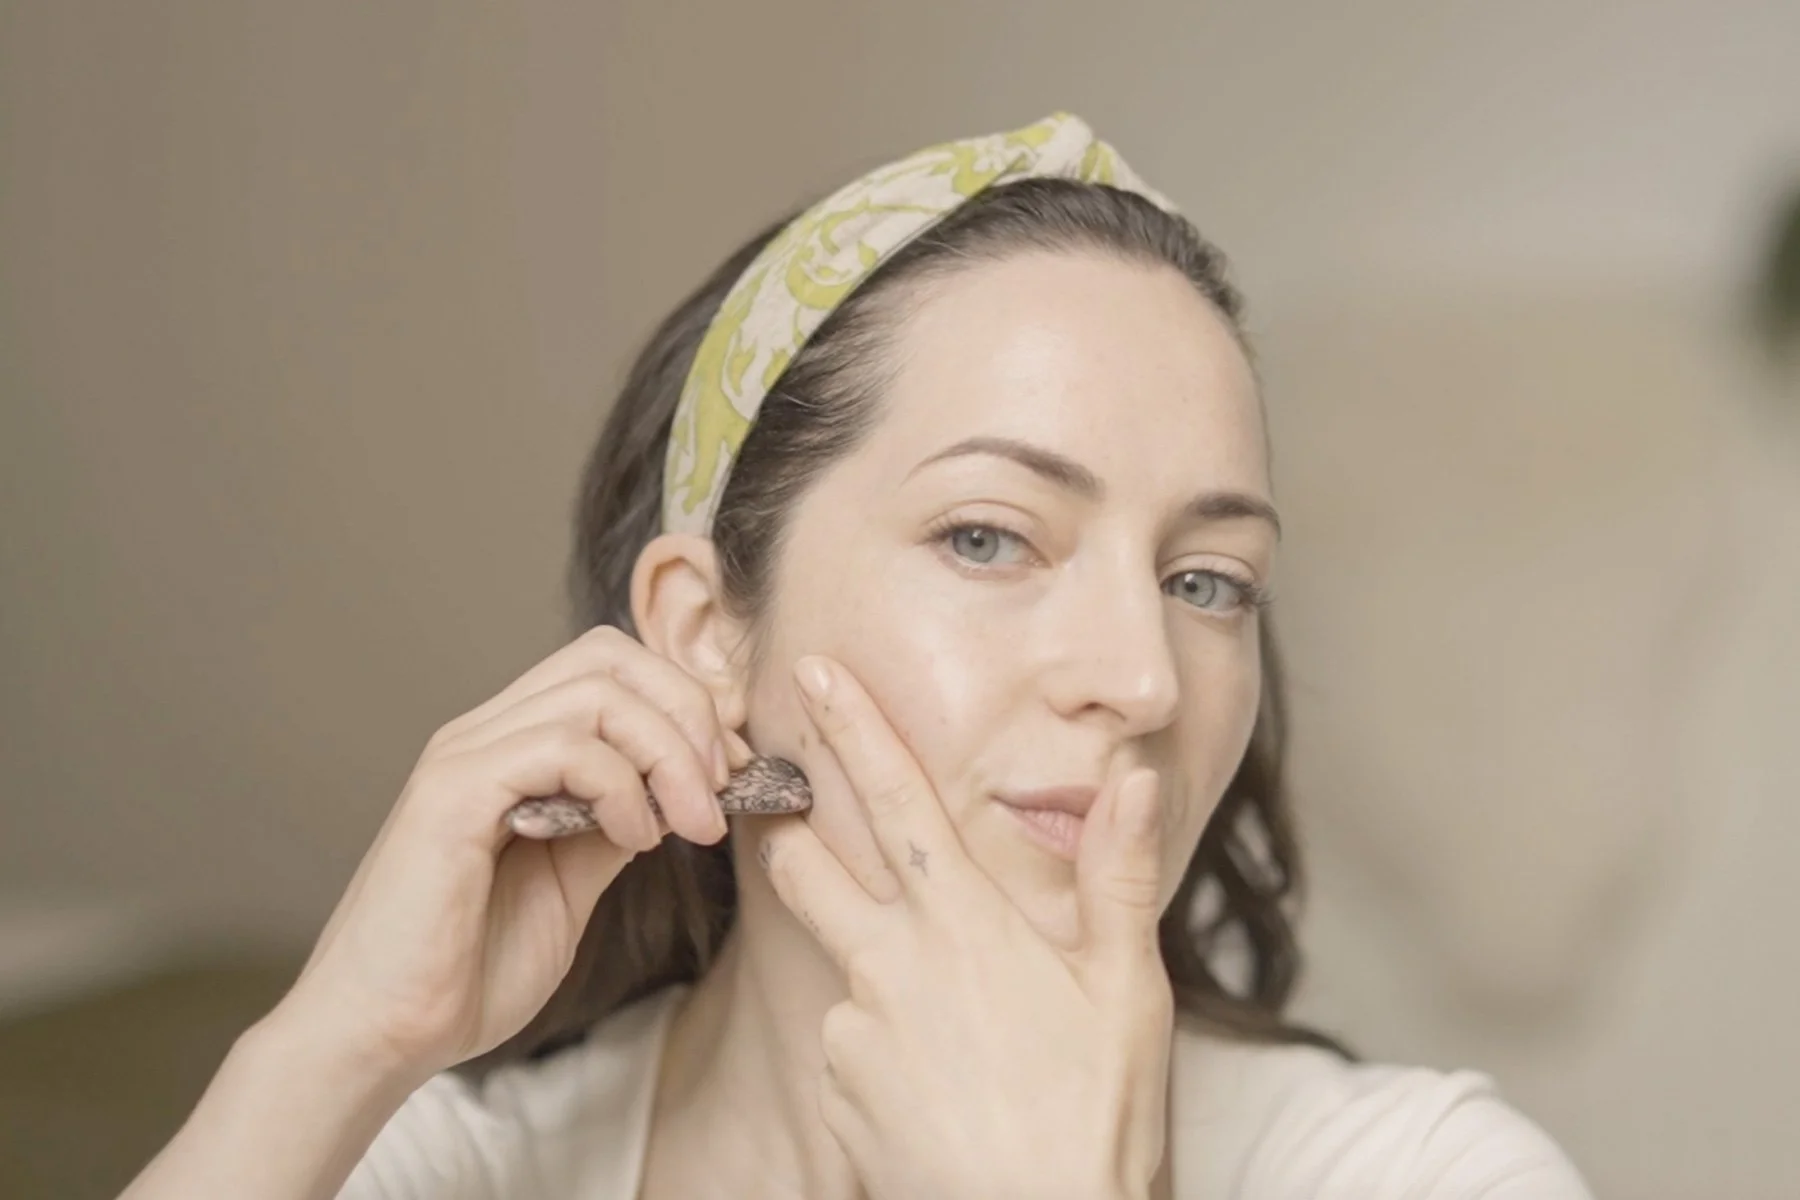
Next we come on to the face and start contouring the jawline. Hook the gua sha tool under the jaw and sweep towards the ear, anchoring with your supporting hand. Pressure can be quite firm here. End with a wiggle at the ear to release tension and activate the lymph centres.
.
Then using the long edge of the tool, stroke outwards from the nose to the ear along the fleshy part of the cheek. The angle of the tool is 15 degrees and you can repeat these strokes five to ten times. At this point you can also 'milk the ear' to stimulate lymphatic drainage - using three short strokes along the jawline and then draining down to terminus at the collarbone.
.
Then use the U-edge of the tool to release and sculpt the cheekbone. We then drain under the eyes in three stages using the smooth long edge of the tool. We start at the outer corner of the eye, and then move under the pupil. And then work from the inner corner of the eye, sweeping out towards the hairline. We always anchor with our supporting hand here, pressure is light.
.
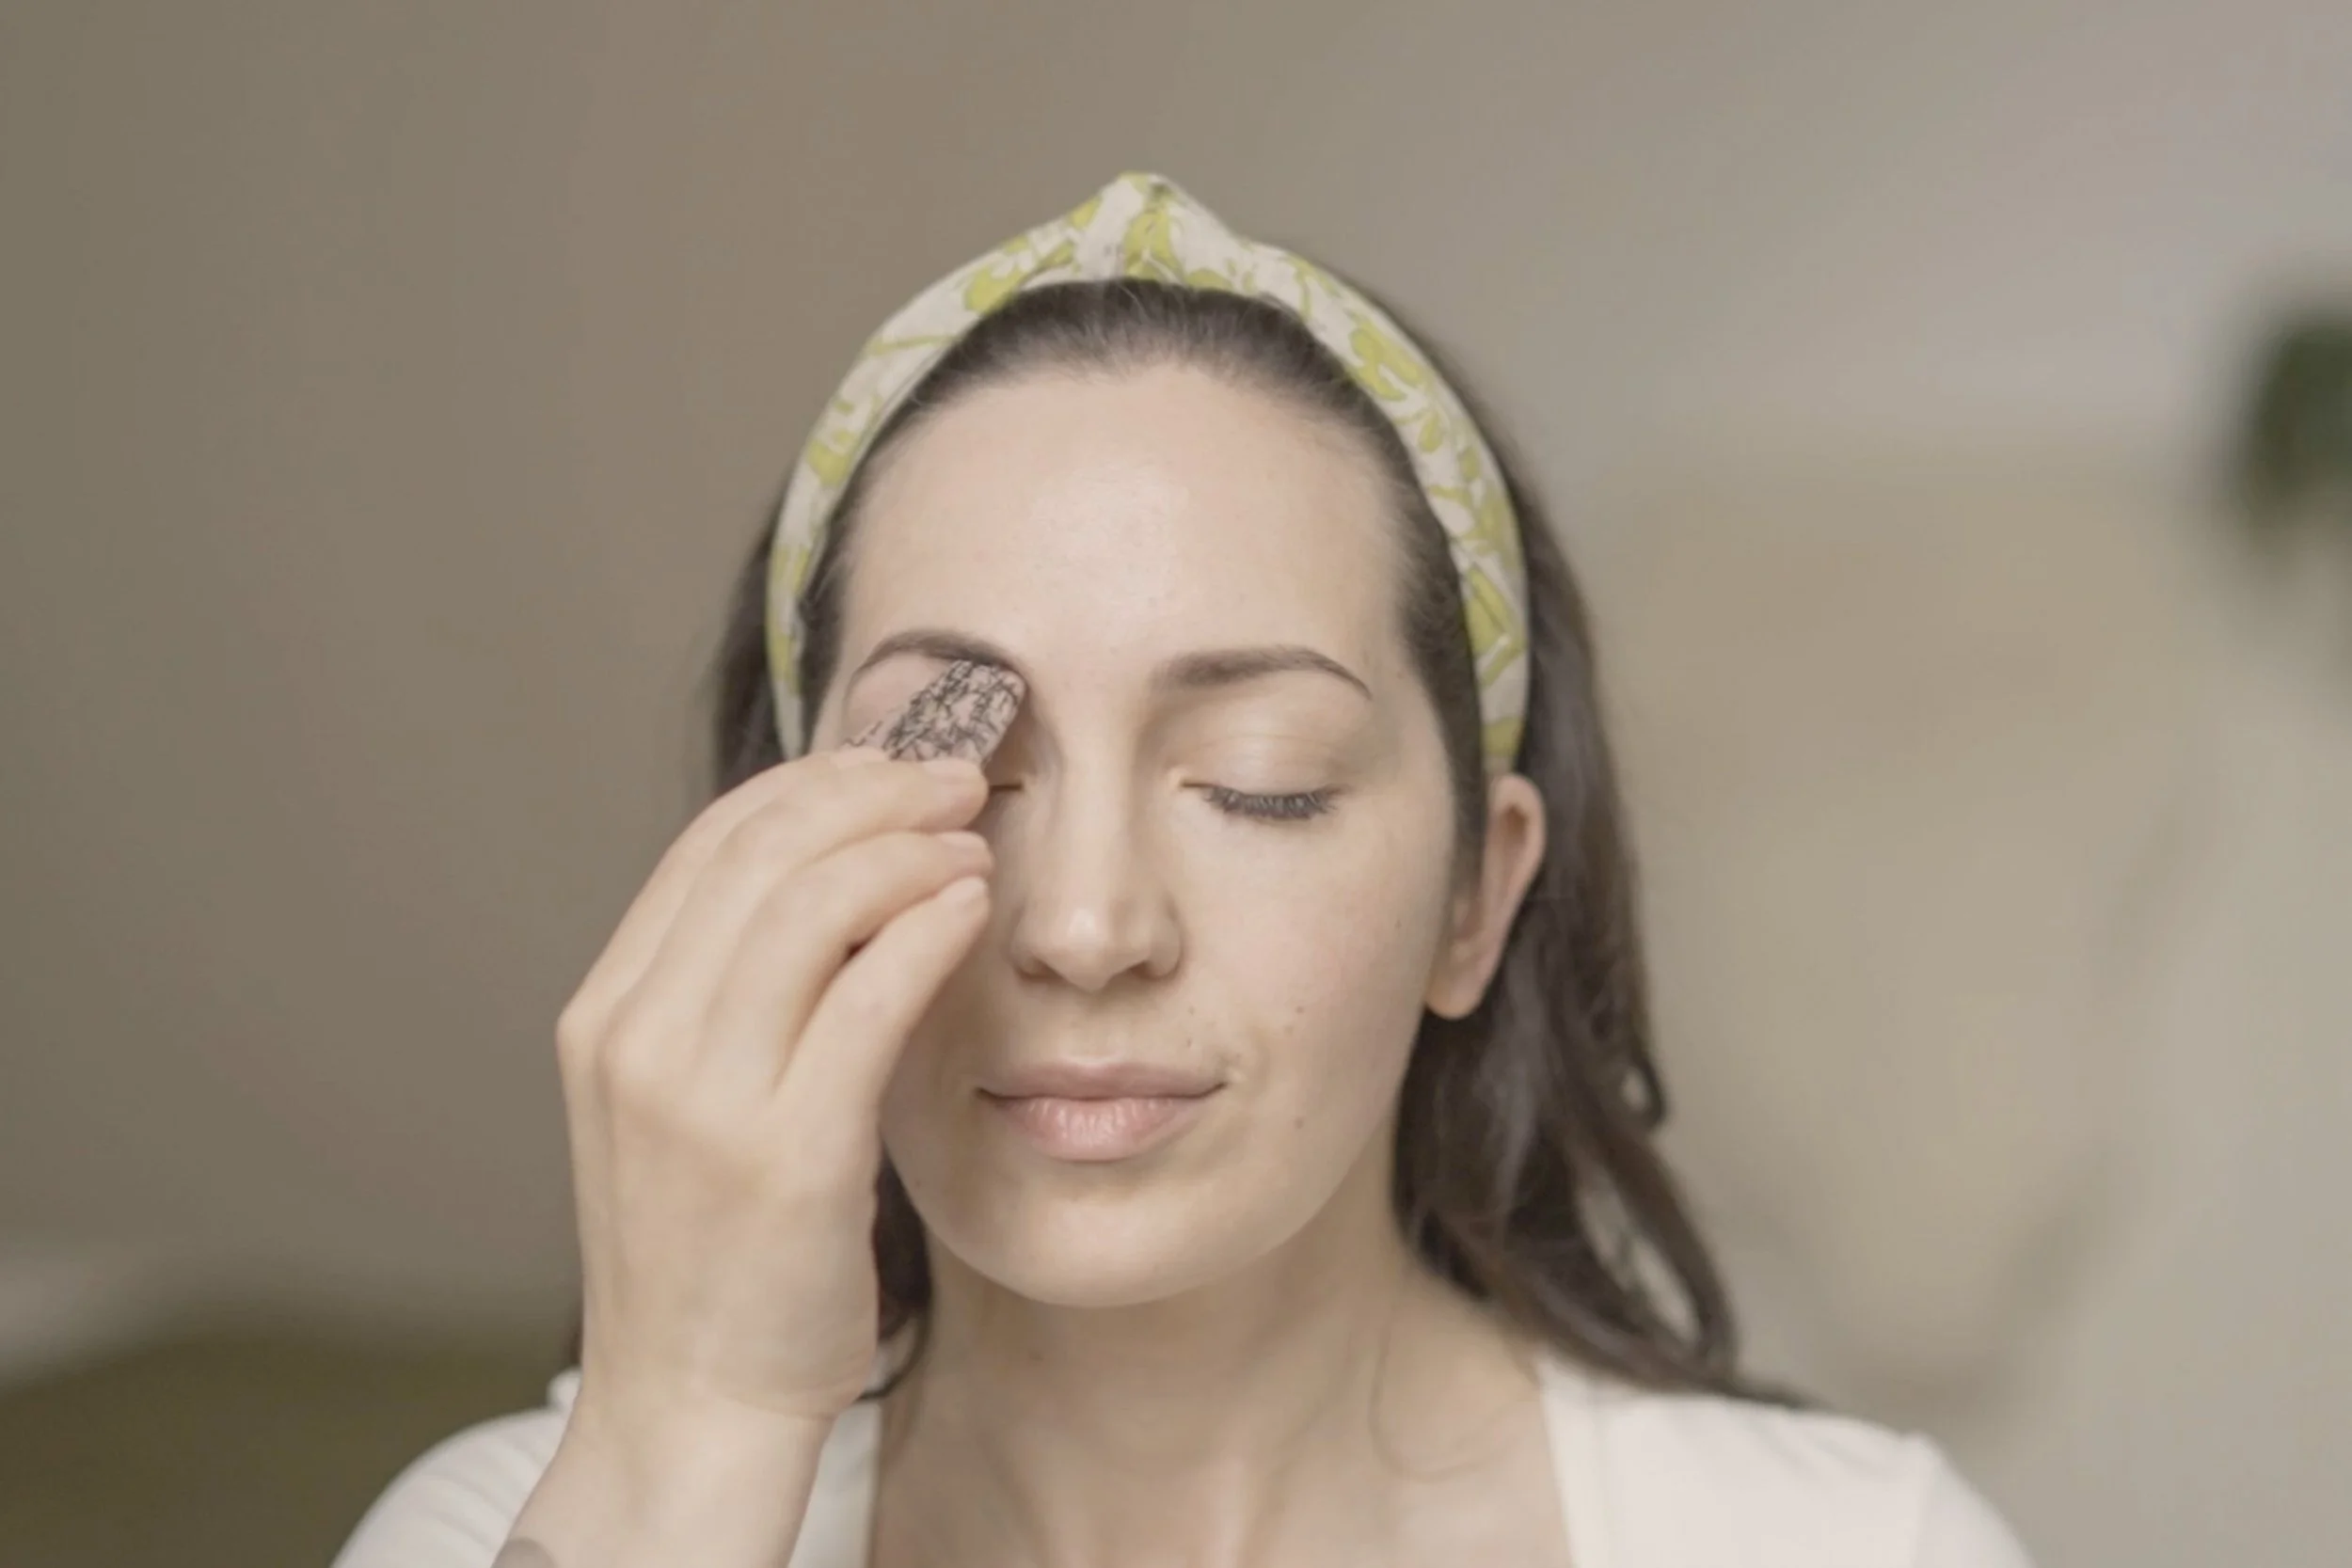
We can then contour and sweep the eyelid to drain fluids which is helpful for hooded eyes or puffiness. You can also use the tip of the tool to work on pressure points to release tension.
.
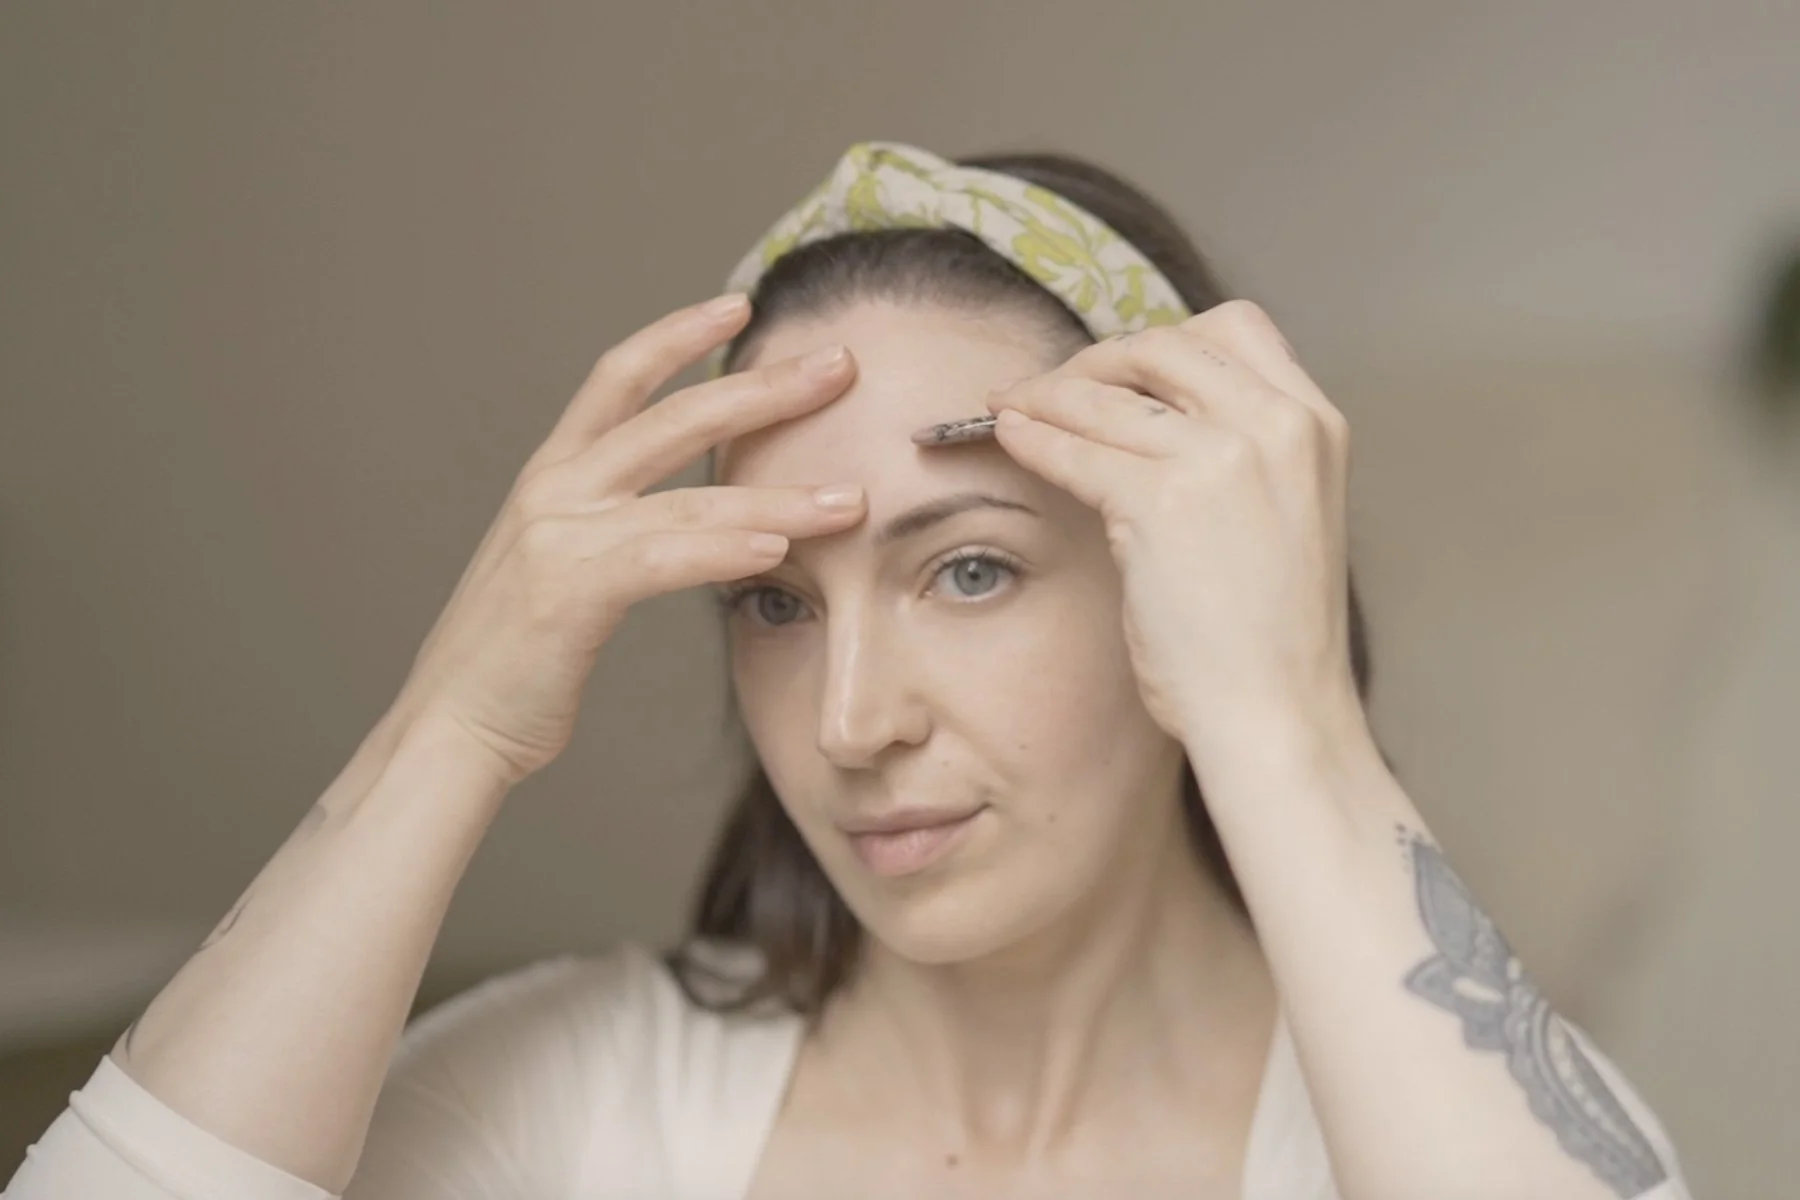
Then use the comb edge of the tool to release tension in the temple region, before working the forehead with the long smooth edge of the tool. Glide the tool upwards into the hairline, supporting the skin to create some resistance. We can sweep the third eye which is a deeply relaxing movement - and finally sweep everything out to drain any excess fluid down to the collarbone.
.
We now repeat on the other side - working under the jaw first, really hooking the gua sha tool under the bone. Then working along the jaw itself. If you feel any crunchiness here you can spend some time smoothing this out before moving on. Feel free to go slowly and don’t forget to breathe deeply and be present in your body. Gua sha can be a wonderful grounding ritual to soothe the nervous system and help you connect back to yourself.
.
Again milking the ear with three short strokes down the jaw from the ear - and long strokes down to the collarbone to drain fluid. Swallowing is a good sign here. Then contouring the cheekbone with the U-edge of the tool, sweeping up and out into the hairline and supporting with your other hand.
.
And once again draining the under eye area in three sections - from the outer corner, under the pupil, and from the inner corner - always making sure to use your supporting hand to anchor the skin. We want to make contact but we don’t want to pull or drag this delicate skin.
.
Draining the eyelid, and releasing tension in the brows. Pressure can be quite firm in the brow and forehead area. Combing out the temple here, and then working in lanes, supporting with your other hand and moving in upward strokes to the hairline, really smoothing out the tissue on the forehead. And then breathe into the third eye stroke, which is a wonderful movement to do before bed and end with flushing strokes, draining everything down to the collarbone.


