Lifted Cheek Ritual
(6 Minute Video)
It’s recommended to view the video on full screen (horizontal) and then follow along at home.
.
We begin at the back of the neck. Wrap the U-edge of the tool across the spine and apply long strokes up to the base of the skull. Then come up the back of the neck right next to the spine, applying firm upward strokes to release tension. Then use the long edge of the tool to sweep up the trapezius muscle, up to the back of the ear.
.
We can start to ease up on the pressure as we come round the front of the neck. Then use the U-edge of the tool to sweep up the sternocleidomastoid, giving this muscle a gentle stretch from the collarbone up to the ear.
.
Then anchor with your supporting hand and use the long edge of the tool to sweep up the platysma muscle, ending the stroke at the corner of the mouth. Keep using your supporting hand to give this muscle a nice stretch.
.
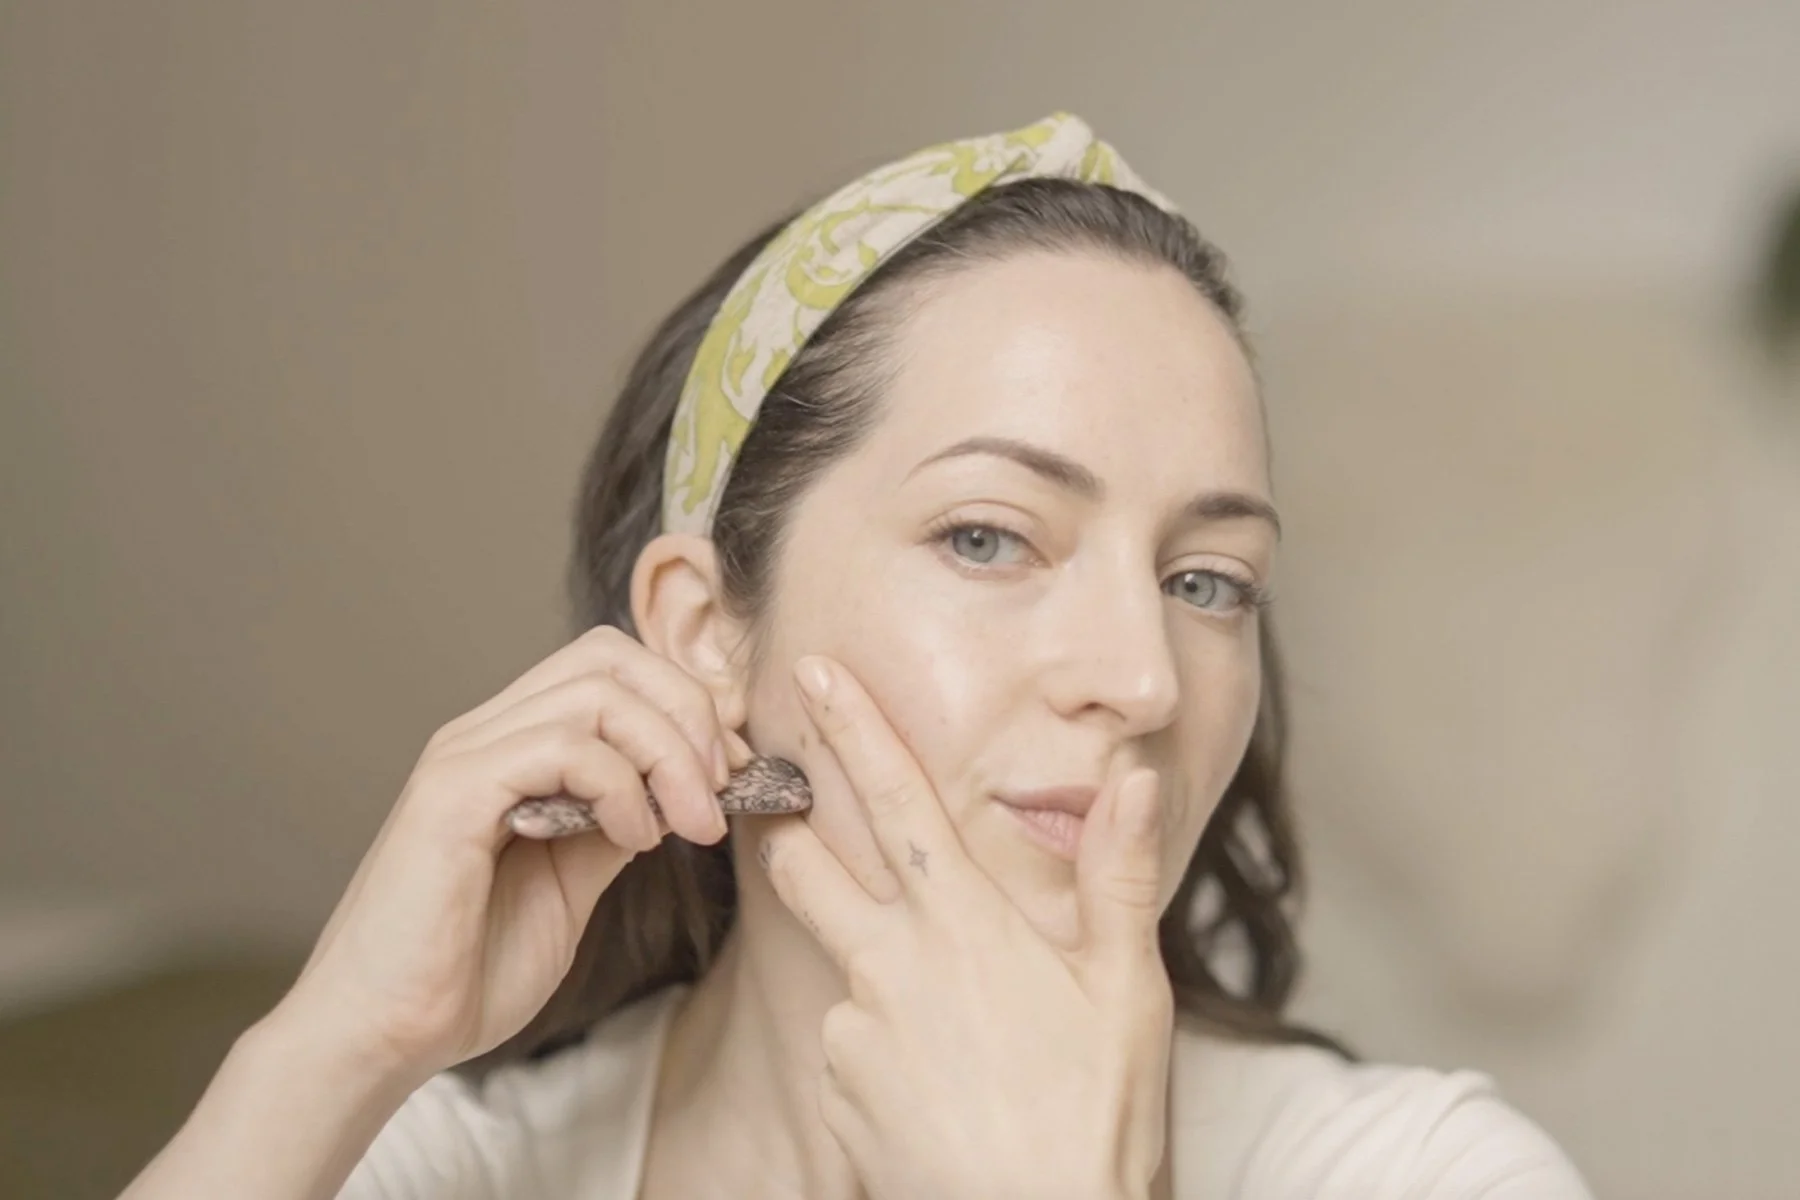
Then sweep out from the chin in short strokes all the way to the ear, using the flat edge of our tool. End the stroke with a wiggle in front of the ear. Then move up to the corner of the mouth and repeat, anchoring the skin with your supporting hand to create some resistance. The angle of the tool is 15 degrees here. Then sweep the full cheek out towards the ear, always anchoring the skin with our supporting hand, and you can repeat these strokes three to ten times.
.
We then use the U-edge of the tool to begin to release and sculpt the cheekbone, sweeping out from the side of the nose to the ear. Using the tip of the tool, gently but firmly press into pressure points along the cheekbone. We gently hook the tool and apply pressure to release tension.
.
Continuing with the tip of the tool, we trace the cheek bone in small circular movements, guiding with our supporting hand. Pressure is medium here and we can really work out tension in the tissue and muscle. Then repeat this movement but this time use a small wave or vibrating motion to help clear blockages, moving out from the side of the nose towards the ear. Then again sweep out along the cheekbone to integrate the strokes. And smooth everything out and drain down to the collarbone.
.
We then repeat on the other side. Coming up the back of the neck right next to the spine, to release tension. Then sweeping up the trapezius muscle using the long edge of the tool. Using the U-edge of the tool, give the sternocleidomastoid a light stretch - guiding up from the collarbone up to the ear.
.
And then sweeping up from the collarbone to the corner of the mouth, always using our supporting hand and gently stretching out the platysma muscle.
.
Then sweep out from the chin to the ear in short strokes, guiding with our supporting hand. Move the tool up to the side of the mouth, and continue draining towards the ear, adding gentle resistance with your other hand. And finally sweeping out the full cheek. Our tool is 15 degrees to the skin so there is just enough room for your thumb at the back, to create a light stretch.
.
Then sweep out along the cheekbone with the U-edge of the tool, ending with a wiggle at the side of the face. Then applying slow mindful pressure points, breathing into each point as you work along the cheekbone.
.
We then release tension and blockages by working along the cheekbone in small circles with our tool, guiding with our supporting hand. This is a very effective sculpting movement. And finally we apply a zig zag or wave motion along the cheekbone to further release tension, before once again sweeping out with the U-edge of the tool to integrate our strokes. And finally sweep everything out and down to terminus at the collarbone.